目次
はじめに
Shopee Open Platform との連携を初めて実装するとき、Amazon や楽天と比べて「最初の壁」が高いと感じることが多い。ドキュメントは英語で量が多く、地域ごとにエンドポイントが異なり、すべてのリクエストに署名を付けなければならない。
本番連携前に特に詰まりやすい 3 点を具体的なコードとともに解説する。
- 認証:
partner_id/shop_idの取得と HMAC-SHA256 署名の生成、アクセストークンのリフレッシュフロー - 地域: 国ごとに異なるドメインと仕様の切り替え
- カテゴリ: モール独自のカテゴリツリーへのマッピング設計
認証の全体像
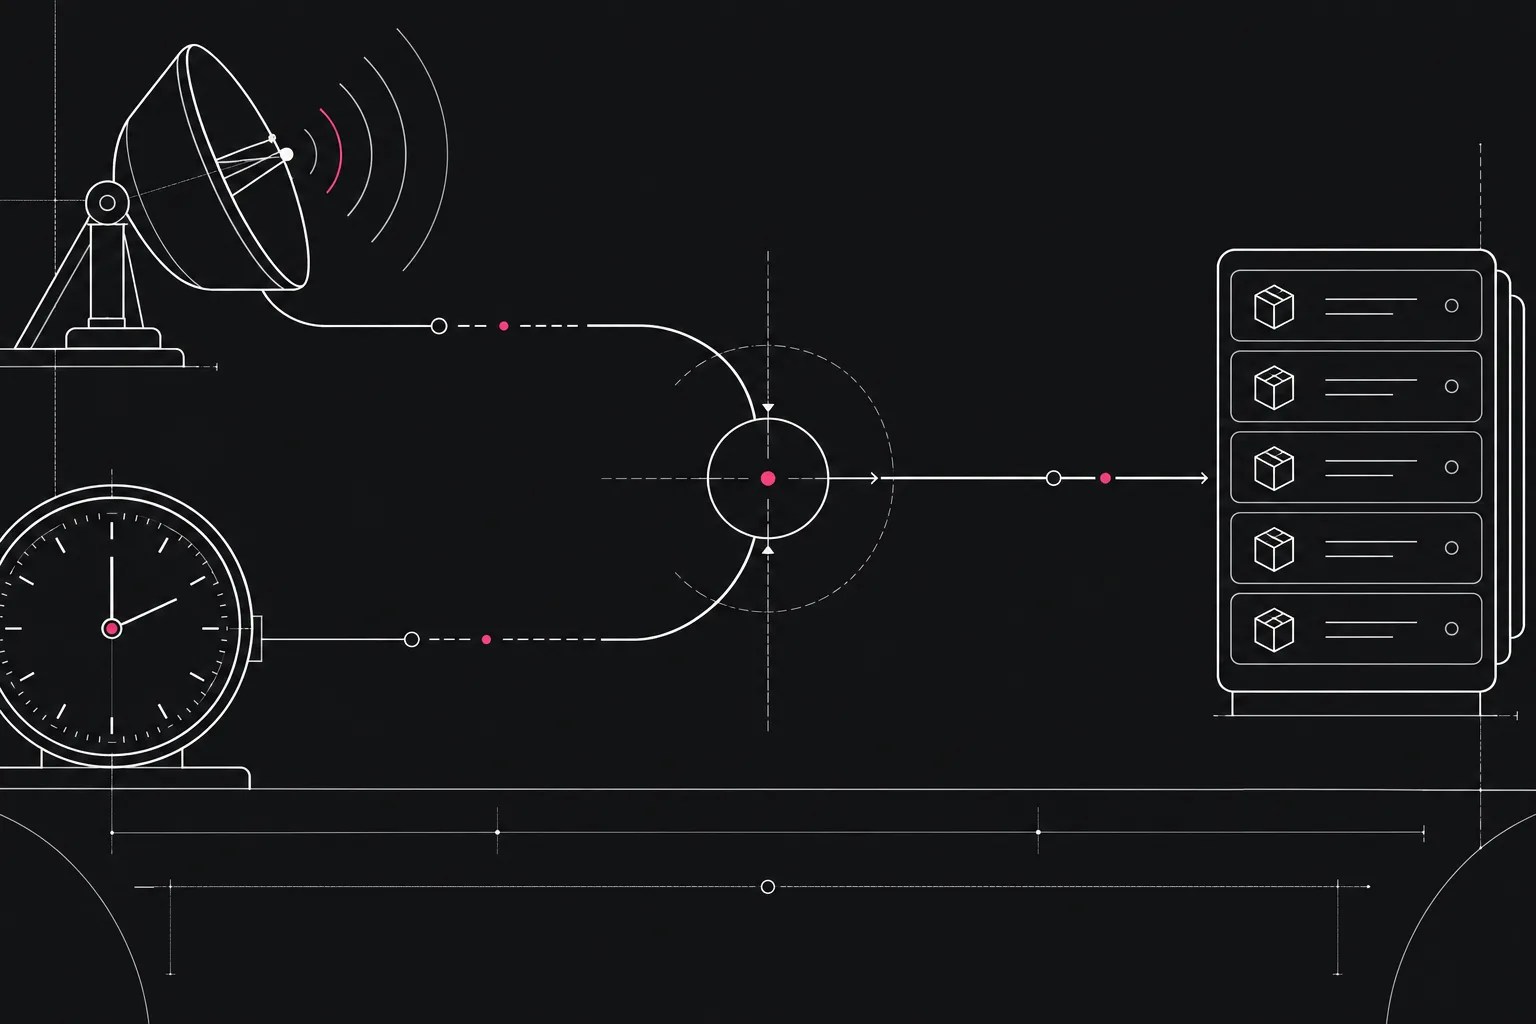
Shopee API の認証は 2 層になっている。
- パートナー認証 — すべてのリクエストに
partner_idと HMAC-SHA256 署名 (sign) を付ける - ショップ認証 — ショップ操作には OAuth 経由で取得した
access_tokenとshop_idも必要
「なぜ API キーを渡すだけじゃダメなのか」と疑問に思うかもしれないが、これはリクエストのなりすましを防ぐためだ。署名には timestamp が含まれるので、古いリクエストの再利用も防げる。
実装パターン 1: HMAC-SHA256 署名の生成
署名の仕様は Shopee 公式ドキュメントに定義されている。ショップ向けエンドポイントの署名 (sign) は次の baseString を HMAC-SHA256 でハッシュ化したものになる。
baseString = partner_id + path + timestamp + access_token + shop_id
partner_id / path / timestamp / access_token / shop_id を文字列として順に連結し、partner_key を秘密鍵として HMAC-SHA256 を計算する。
import crypto from "crypto"

/**
 * ショップ向けエンドポイントの署名を生成する
 * (公開 API / アフィリエイト向けは baseString が異なるため注意)
 */
function generateSign(
  partnerKey: string,
  partnerId: number,
  path: string,         // "/api/v2/order/get_order_list" のような API パス
  timestamp: number,    // UNIX タイムスタンプ(秒)
  accessToken: string,
  shopId: number
): string {
  const baseString = `${partnerId}${path}${timestamp}${accessToken}${shopId}`
  return crypto
    .createHmac("sha256", partnerKey)
    .update(baseString)
    .digest("hex")
}

/**
 * 公開(パートナーレベル)エンドポイントの署名を生成する。
 * トークン取得前に呼ぶ auth 系(access_token/get, token/get 等)では、
 * baseString に access_token / shop_id を含めず `partner_id + path + timestamp` で計算する。
 */
function generatePublicSign(
  partnerKey: string,
  partnerId: number,
  path: string,
  timestamp: number
): string {
  const baseString = `${partnerId}${path}${timestamp}`
  return crypto.createHmac("sha256", partnerKey).update(baseString).digest("hex")
}

// Shopee は論理エラーでも HTTP 200 で { error, message } を返すことがある。
// レスポンスを型付きエラーに変換して、呼び出し側が error コードで分岐できるようにする。
interface ShopeeApiResult {
  error?: string
  message?: string
  [key: string]: unknown
}

class ShopeeApiError extends Error {
  constructor(
    readonly result: ShopeeApiResult,
    readonly httpStatus: number
  ) {
    super(`Shopee API error: ${result.error ?? httpStatus} ${result.message ?? ""}`.trim())
    this.name = "ShopeeApiError"
  }
}

/**
 * Shopee API 共通ラッパー
 */
async function callShopeeApi(
  path: string,
  body: Record<string, unknown>,
  shopId: number,
  accessToken: string
): Promise<unknown> {
  const timestamp = Math.floor(Date.now() / 1000)
  const sign = generateSign(
    process.env.SHOPEE_PARTNER_KEY!,
    Number(process.env.SHOPEE_PARTNER_ID),
    path,
    timestamp,
    accessToken,
    shopId
  )

  const baseUrl = getRegionalHost(shopId) // 後述の地域切り替え
  const url = new URL(`${baseUrl}${path}`)
  url.searchParams.set("partner_id", process.env.SHOPEE_PARTNER_ID!)
  url.searchParams.set("shop_id", String(shopId))
  url.searchParams.set("timestamp", String(timestamp))
  url.searchParams.set("access_token", accessToken)
  url.searchParams.set("sign", sign)

  const res = await fetch(url.toString(), {
    method: "POST",
    headers: { "Content-Type": "application/json" },
    body: JSON.stringify(body),
  })

  const result = (await res.json()) as ShopeeApiResult
  // HTTP エラー、または body に error コードが入っていれば ShopeeApiError を投げる
  if (!res.ok || (result.error && result.error !== "")) {
    throw new ShopeeApiError(result, res.status)
  }
  return result
}よくある失敗: timestamp を秒ではなくミリ秒で渡すと認証エラーになる。Shopee は UNIX 秒を要求しているので Math.floor(Date.now() / 1000) を使う。
実装パターン 2: タイムスタンプずれによる認証失敗対策
sign は timestamp を含んで計算されるため、サーバーの時計が大きくずれていると認証が通らない。許容される誤差は公式ドキュメントに記載があるが、実運用でも想定外のずれが発生することがある。
対策として 2 つを組み合わせる。
/**
 * タイムスタンプずれを考慮したリトライラッパー
 */
async function callShopeeApiWithRetry(
  path: string,
  body: Record<string, unknown>,
  shopId: number,
  accessToken: string,
  maxRetries = 2
): Promise<unknown> {
  for (let attempt = 0; attempt <= maxRetries; attempt++) {
    try {
      return await callShopeeApi(path, body, shopId, accessToken)
    } catch (err) {
      const result = err instanceof ShopeeApiError ? err.result : null
      // 署名エラー (error: "error_auth") のときは時刻ずれの可能性があるので再試行
      if (result?.error === "error_auth" && attempt < maxRetries) {
        // NTP 同期を待つ代わりに、少し待ってからリトライ
        await new Promise((resolve) => setTimeout(resolve, 1000 * (attempt + 1)))
        continue
      }
      throw err
    }
  }
}
実環境では ntpd や chronyd でサーバーの時刻同期を確認しておくことが最低限の前提になる。特にコンテナ環境ではホスト OS の時刻設定に依存するため見落としやすい。
実装パターン 3: アクセストークンのリフレッシュ
OAuth の access_token には有効期限がある。期限切れのトークンを使うと API がエラーを返すので、自動リフレッシュの仕組みを組み込んでおく。
リフレッシュエンドポイントは /api/v2/auth/access_token/get で、shop_id / refresh_token を渡すと新しい access_token と refresh_token が返ってくる。
interface TokenRecord {
  shopId: number
  accessToken: string
  refreshToken: string
  expiresAt: number // UNIX 秒
}

async function getValidAccessToken(shopId: number): Promise<string> {
  const record = await getTokenFromDb(shopId) // DB / シークレットマネージャーから取得
  if (!record) throw new Error(`No token for shop ${shopId}`)

  // 有効期限の 5 分前にリフレッシュ
  const now = Math.floor(Date.now() / 1000)
  if (record.expiresAt - now > 5 * 60) {
    return record.accessToken
  }

  return refreshAccessToken(shopId, record.refreshToken)
}

async function refreshAccessToken(shopId: number, refreshToken: string): Promise<string> {
  const path = "/api/v2/auth/access_token/get"
  const timestamp = Math.floor(Date.now() / 1000)
  // auth 系エンドポイントはトークン取得前なので、パートナーレベル署名
  // (partner_id + path + timestamp) を使う。access_token / shop_id は含めない。
  const sign = generatePublicSign(
    process.env.SHOPEE_PARTNER_KEY!,
    Number(process.env.SHOPEE_PARTNER_ID),
    path,
    timestamp
  )

  const url = new URL(`https://partner.shopeemobile.com${path}`)
  url.searchParams.set("partner_id", process.env.SHOPEE_PARTNER_ID!)
  url.searchParams.set("timestamp", String(timestamp))
  url.searchParams.set("sign", sign)

  const res = await fetch(url.toString(), {
    method: "POST",
    headers: { "Content-Type": "application/json" },
    body: JSON.stringify({
      shop_id: shopId,
      refresh_token: refreshToken,
    }),
  })

  const data = (await res.json()) as {
    access_token: string
    refresh_token: string
    expire_in: number // 新しいトークンの有効秒数
  }

  // 新しいトークンを DB に保存
  await saveTokenToDb({
    shopId,
    accessToken: data.access_token,
    refreshToken: data.refresh_token,
    expiresAt: Math.floor(Date.now() / 1000) + data.expire_in,
  })

  return data.access_token
}重要: refresh_token も更新されることがある。レスポンスの refresh_token は必ず保存し直す。古い refresh_token を使い続けると次のリフレッシュ時にエラーになる。
実装パターン 4: 地域別ホストの切り替え
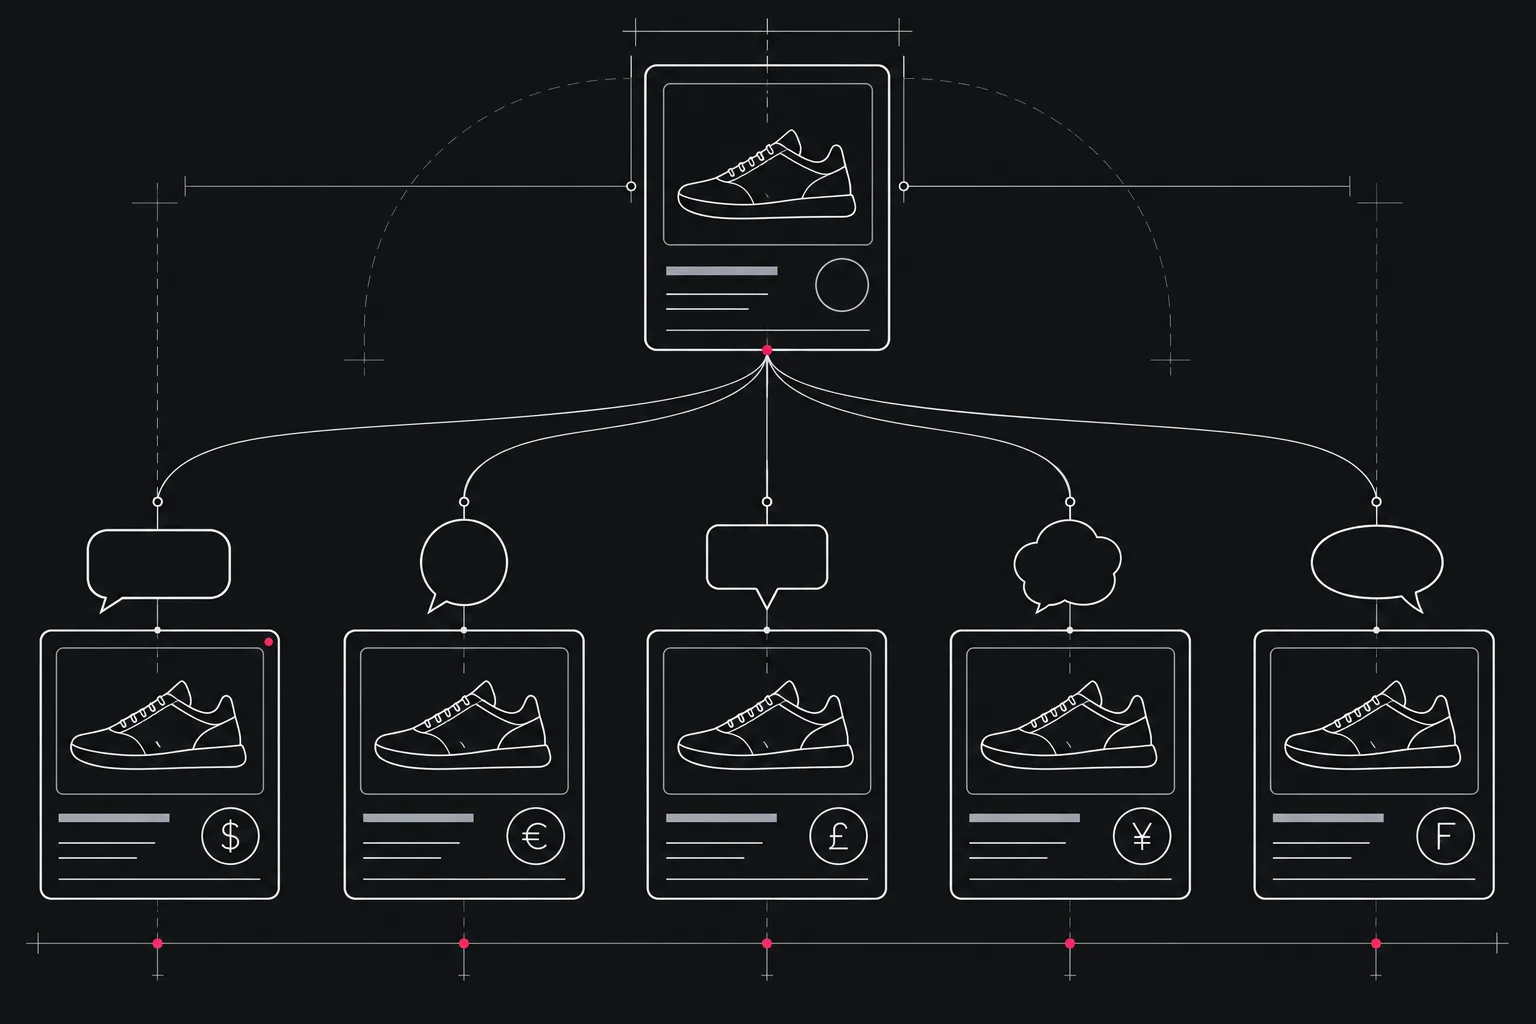
Shopee は国によってエンドポイントドメインが異なる。ほとんどの本番環境では partner.shopeemobile.com を使うが、サンドボックス(テスト環境)は partner.uat.shopeemobile.com になる。
また、将来的な多国展開を見据えて、ショップ ID から対象国・ホストを解決する設計にしておくと保守性が上がる。
type ShopeeRegion = "SG" | "MY" | "ID" | "TH" | "TW" | "PH" | "VN" | "BR" | "MX"

const REGIONAL_HOSTS: Record<ShopeeRegion, string> = {
  SG: "https://partner.shopeemobile.com",
  MY: "https://partner.shopeemobile.com",
  ID: "https://partner.shopeemobile.com",
  TH: "https://partner.shopeemobile.com",
  TW: "https://partner.shopeemobile.com",
  PH: "https://partner.shopeemobile.com",
  VN: "https://partner.shopeemobile.com",
  BR: "https://partner.shopeemobile.com",
  MX: "https://partner.shopeemobile.com",
}

// テスト環境では UAT ホストへフォールバック
const BASE_HOST =
  process.env.NODE_ENV === "production"
    ? "https://partner.shopeemobile.com"
    : "https://partner.uat.shopeemobile.com"

/**
 * ショップ ID からホストを解決する
 * 将来的に国別ショップマスタを参照する拡張ポイント
 */
function getRegionalHost(shopId: number): string {
  // ショップマスタから国を取得してマッピングする実装に差し替える
  return BASE_HOST
}地域ごとの仕様差分: API のレスポンスフィールドや必須項目が国によって異なるケースがある。特に物流(logistics)と税制まわりは国別に確認が必要で、一括テストだけでは気づきにくい。staging 環境での国別テストを計画的に行うことを推奨する。
実装パターン 5: カテゴリツリーのマッピング設計
Shopee のカテゴリ体系はモール独自のもので、Amazon や楽天のカテゴリとは構造が異なる。自社の商品管理システムのカテゴリを Shopee のカテゴリ ID に変換するマッピングレイヤーが必要になる。
カテゴリツリーは get_category API で取得できる。ツリーは階層構造になっており、末端ノード(has_children: false)のみ商品に割り当て可能。
interface ShopeeCategory {
  category_id: number
  parent_category_id: number
  original_category_name: string
  display_category_name: string
  has_children: boolean
  children?: ShopeeCategory[]
}

/**
 * カテゴリツリーを取得してフラットな ID マップに変換する
 * キー: "衣類/メンズ/Tシャツ" のような内部パス
 * 値: Shopee の category_id
 */
async function buildCategoryMap(
  shopId: number,
  accessToken: string
): Promise<Map<string, number>> {
  const result = (await callShopeeApi(
    "/api/v2/product/get_category",
    { language: "ja" }, // 言語コードは国・ショップに合わせて変更
    shopId,
    accessToken
  )) as { response: { category_list: ShopeeCategory[] } }

  const map = new Map<string, number>()
  traverseTree(result.response.category_list, "", map)
  return map
}

function traverseTree(
  categories: ShopeeCategory[],
  parentPath: string,
  map: Map<string, number>
) {
  for (const cat of categories) {
    const path = parentPath
      ? `${parentPath}/${cat.display_category_name}`
      : cat.display_category_name

    if (!cat.has_children) {
      // 末端ノードのみマッピング対象
      map.set(path, cat.category_id)
    }
    if (cat.children && cat.children.length > 0) {
      traverseTree(cat.children, path, map)
    }
  }
}
カテゴリツリーは頻繁には変わらないが、Shopee 側の都合で変更されることがある。カテゴリマスタを毎日キャッシュ更新する仕組みを入れておくと、無効なカテゴリ ID を使った出品失敗を防げる。
// カテゴリキャッシュ(Redis / DynamoDB 等に保存)
async function getCachedCategoryMap(
  shopId: number,
  accessToken: string
): Promise<Map<string, number>> {
  const cached = await cache.get(`shopee:categories:${shopId}`)
  if (cached) return new Map(JSON.parse(cached))

  const map = await buildCategoryMap(shopId, accessToken)
  // 24 時間キャッシュ
  await cache.set(`shopee:categories:${shopId}`, JSON.stringify([...map]), { ex: 86400 })
  return map
}
さらに、カテゴリによっては追加の attribute(サイズ・素材・色など)が必須になる。get_attributes API でカテゴリ別の必須属性を取得し、出品前にバリデーションを入れておくと、エラーの原因特定が早くなる。
まとめ
| 詰まりポイント | 対策 |
|---|---|
| HMAC-SHA256 署名の生成 | baseString のフィールド順と連結ルールを公式ドキュメントで確認。timestamp は UNIX 秒 |
| タイムスタンプずれの認証失敗 | NTP 同期を確認。error_auth でリトライのロジックを組む |
| アクセストークンの期限切れ | 有効期限 5 分前にリフレッシュ。refresh_token も更新済みのものを保存 |
| 地域別エンドポイントの違い | 本番 / UAT でホストを切り替え。国別の物流・税制仕様は個別確認 |
| カテゴリ ID のマッピング | get_category でツリーを取得し内部パスで管理。毎日キャッシュ更新 |
| カテゴリ別必須属性の不足 | get_attributes で必須属性を取得し出品前にバリデーション |
署名・トークン・カテゴリのいずれもオンボーディング初期に一度ちゃんと整備しておけば、以降の機能開発はスムーズになる。最初の連携基盤に時間を投資する価値は十分にある。